
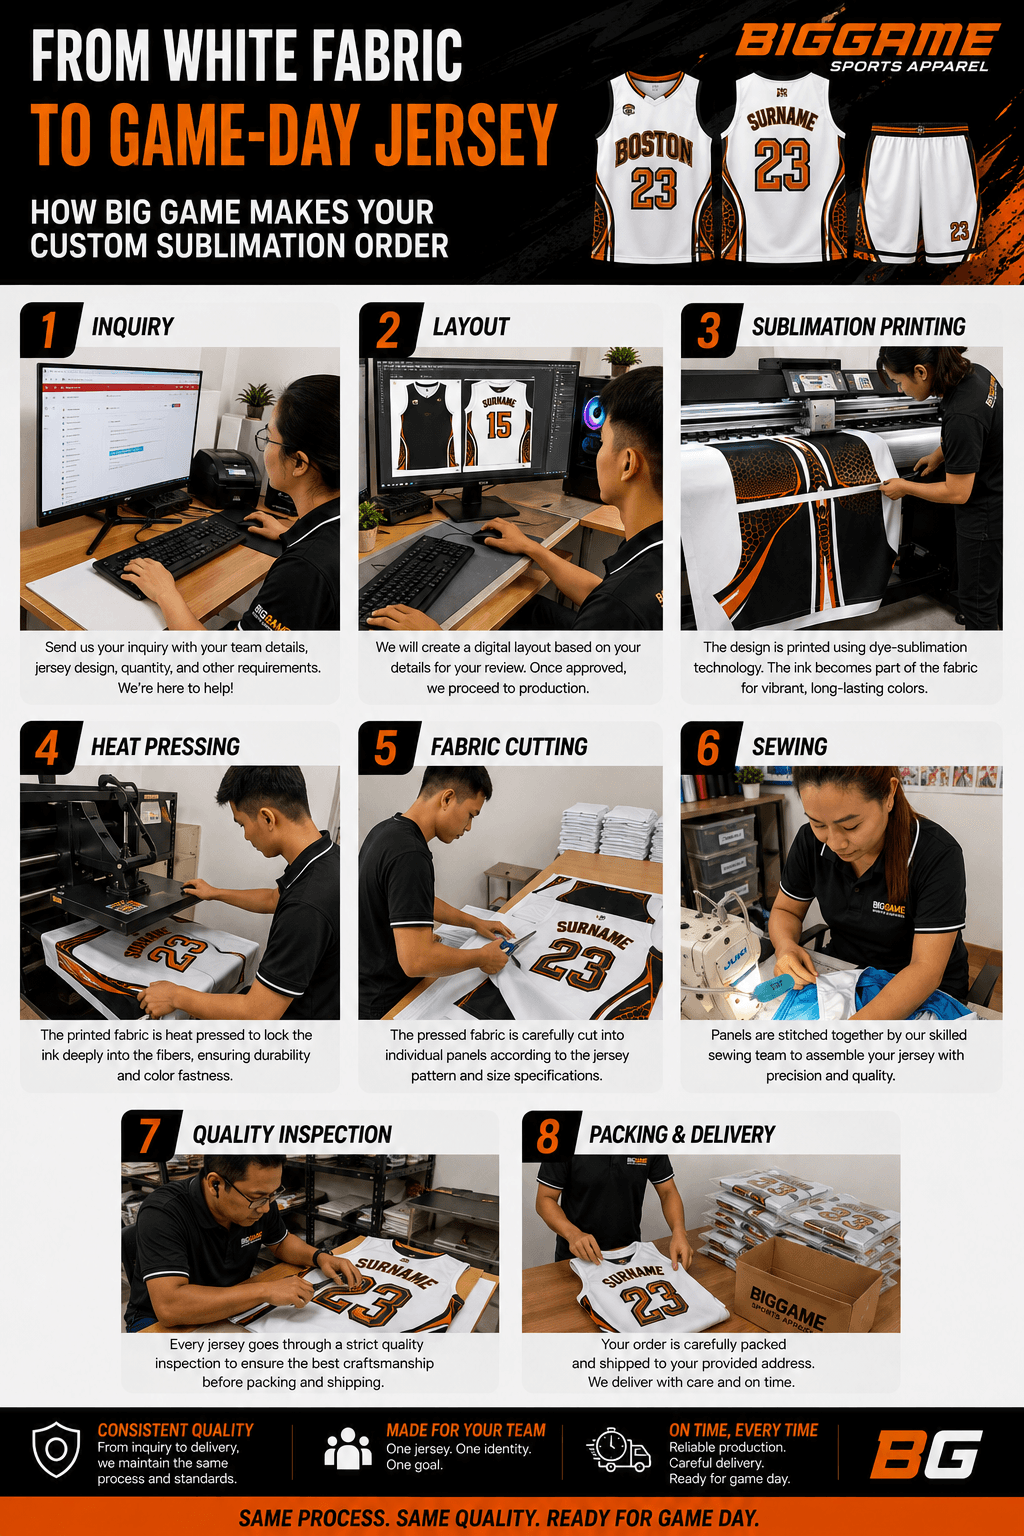
Every custom sublimation jersey we ship goes through the same handful of production steps — no matter if it's one jersey or three hundred. Here's exactly what happens between the moment you pick a design and the moment your team laces up in it.
Step 1: Picking Your Design
You start by choosing a design from our existing catalog. The layout and colors of that design are fixed as shown — this keeps every jersey consistent and production-ready from day one.
Step 2: Adding Your Free Customization
Once you've picked a design, you send us the player names, surnames, and jersey numbers for your roster. This is the one part of the jersey you fully control, and it's included at no additional cost.
Step 3: Digital Proof Approval
Before anything touches fabric, we build a digital proof showing exactly how your jersey will look — names, numbers, and all. You review and approve it, so there are no surprises once printing begins.
Step 4: Sublimation Printing
Once approved, the design is printed using dye-sublimation: heat and pressure turn solid dye into gas, which bonds directly with the polyester fibers. The design becomes part of the fabric instead of sitting on top of it, which is why it won't crack or peel.
Step 5: Cutting and Sewing
Each printed panel is cut to your size chart and sewn together by hand. This is where the jersey actually takes shape — collars, sleeves, and side panels are assembled to match your team's sizing.
Step 6: Quality Check and Packing
Every finished jersey is inspected for print alignment, stitching, and sizing accuracy before it's folded, packed, and prepared for delivery.
Why This Process Matters
Because every jersey goes through the same steps — proof, print, cut, sew, check — you get consistent quality whether you're ordering one jersey or outfitting an entire league. Ready to get started? Pick a design from our catalog and send us your roster.
Comments
No comments yet.